
How to Update Node.js to the Latest Stable Version for React Native (Using NVM). I have spent many time building React Native apps and sometimes I probably seen a warning like this:
“Unsupported Node.js version”
“Package installation failed”
“Metro Bundler won’t start”
Here i am going to give solution about this. In many cases, the culprit isn’t React Native itself—it’s an outdated Node.js version.
I learned this the hard way while helping a teammate troubleshoot a project that suddenly stopped installing dependencies after a React Native upgrade. Nothing seemed wrong with the codebase. The issue turned out to be a Node.js version that was nearly two years old.
The good news is that updating Node.js doesn’t have to be risky.
The safest approach is to use Node Version Manager (NVM), a tool that allows you to install multiple Node.js versions and switch between them whenever needed. This is especially useful for React Native developers who often work on projects with different version requirements.
In this guide, you’ll learn how to update Node.js to the latest stable version using NVM, verify that React Native still works correctly, and avoid common mistakes that can cause unnecessary downtime.
Table of Contents
- Why React Native Developers Should Keep Node.js Updated
- What Is NVM and Why Use It?
- Check Your Current Node.js Version
- Install NVM
- Update Node.js to the Latest Stable Version
- Set the New Version as Default
- Verify Your React Native Environment
- Updating Existing React Native Projects Safely
- Common Node.js Upgrade Mistakes
- Frequently Asked Questions
- Final Thoughts
Why React Native Developers Should Keep Node.js Updated
React Native relies heavily on the JavaScript ecosystem.
Behind the scenes, tools such as:
- React Native CLI
- Metro Bundler
- npm
- Yarn
- Expo
- Build scripts and automation tools
all depend on Node.js.
When Node.js becomes outdated, problems start appearing in unexpected places.
You may experience:
- Dependency installation failures
- Build errors
- Slower development tooling
- Compatibility warnings
- Security vulnerabilities
- Unsupported package versions
Many developers don’t realize their Node.js version is causing problems until they upgrade React Native or install a newer package.
Keeping Node.js reasonably current helps ensure that the tools around React Native continue to work as expected.
What Is NVM and Why Use It?
NVM (Node Version Manager) is a tool that lets you install and manage multiple Node.js versions on the same computer.
Instead of uninstalling one version and manually installing another, NVM allows you to switch versions with a single command.
Think of it as having separate workspaces for different projects.
For example:
| Project | Required Node Version |
|---|---|
| Legacy App | Node 18 |
| Current Production App | Node 20 |
| New React Native Project | Node 22 |
Without NVM, managing these environments can become frustrating very quickly.
With NVM, switching between versions takes only a few seconds.
Benefits of Using NVM
- Install multiple Node.js versions
- Switch versions instantly
- Test compatibility safely
- Avoid PATH conflicts
- Keep older projects working
- Upgrade without affecting existing applications
For React Native development, NVM is widely considered the safest and most flexible approach.
Check Your Current Node.js Version
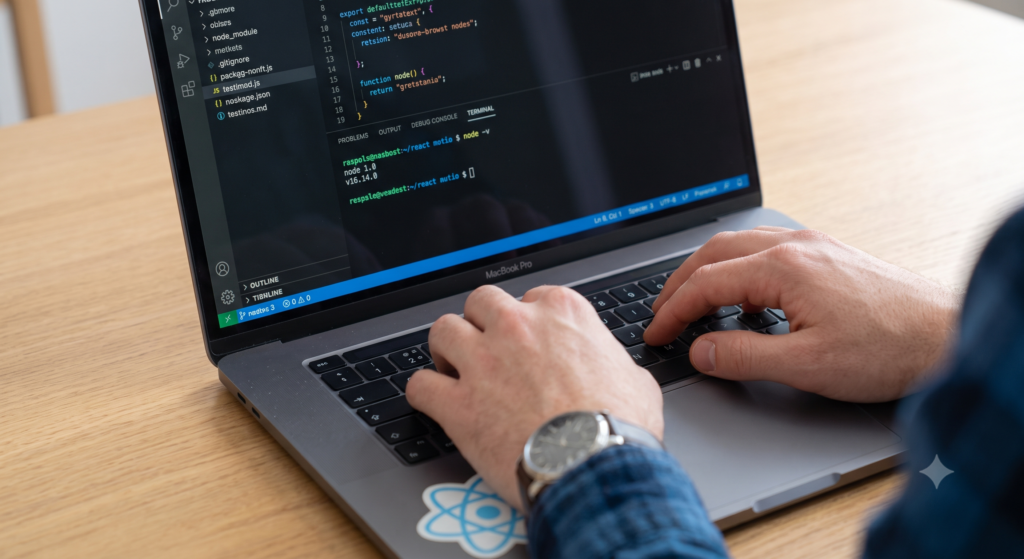
Before making any changes, find out what version you’re currently running.
Open a terminal and execute:
node -v
Example output:
v18.20.2
You can also check your npm version:
npm -v
If NVM is already installed, view all available local versions:
nvm ls
This provides a quick snapshot of your current environment before you begin upgrading.
Install NVM
If you already have NVM installed, you can skip to the next section.
Installing NVM on macOS and Linux
Run:
curl -o- https://raw.githubusercontent.com/nvm-sh/nvm/master/install.sh | bash
After installation, reload your shell:
For Bash:
source ~/.bashrc
For Zsh:
source ~/.zshrc
Verify installation:
nvm --version
If a version number appears, NVM is ready to use.
Installing NVM on Windows
Windows uses a separate project called NVM for Windows.
The installation process is straightforward:
- Remove older Node.js installations if necessary.
- Download NVM for Windows from the official GitHub releases page.
- Run the installer.
- Open PowerShell or Command Prompt.
- Verify installation:
nvm version
Once you see the version number, you’re ready to install Node.js through NVM.
How to Update Node.js to the Latest Stable Version
This is where the actual upgrade happens.
Step 1: View Available Node.js Versions
Run:
nvm ls-remote
This displays available Node.js releases.
You’ll notice two main categories:
- Current releases
- LTS (Long-Term Support) releases
For most React Native projects, LTS is the safest choice because it’s more thoroughly tested and widely supported.
Step 2: Install the Latest LTS Release
Install the latest stable version:
nvm install --lts
You can also install a specific version:
nvm install 22
NVM downloads and installs the selected version without affecting your existing installations.
This is one of the biggest advantages over traditional upgrades.
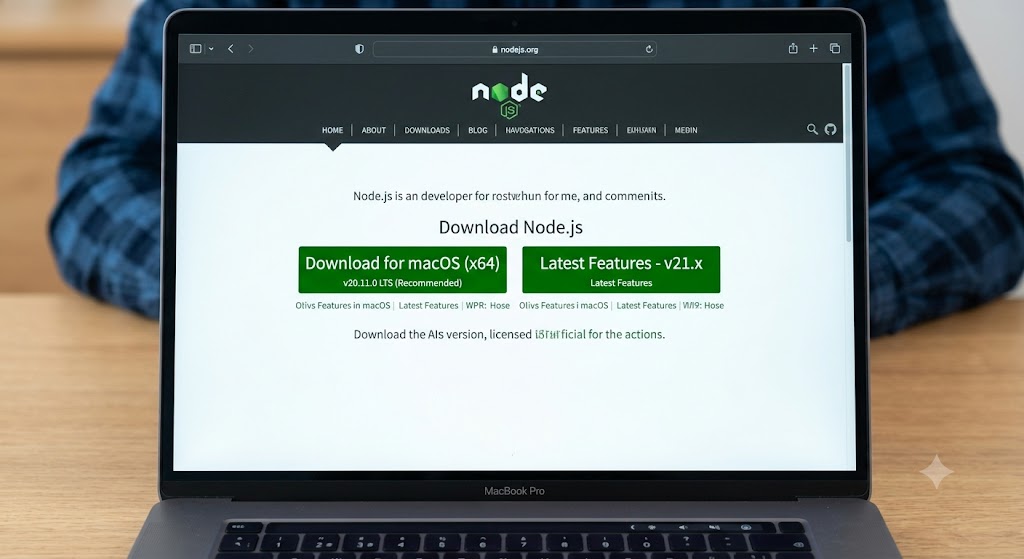
Step 3: Switch to the New Version
Activate the newly installed version:
nvm use 22
Replace 22 with whichever version you installed.
Verify the change:
node -v
Expected output:
v22.x.x
At this point, your terminal is using the new Node.js version.
Set the New Version as Default
If you stop here, you may discover that a new terminal session reverts back to an older version.
To prevent that, make your preferred version the default.
macOS and Linux
nvm alias default 22
Windows
nvm use 22
Open a new terminal and verify:
node -v
If the correct version appears, the change is permanent.
Verify Your React Native Environment
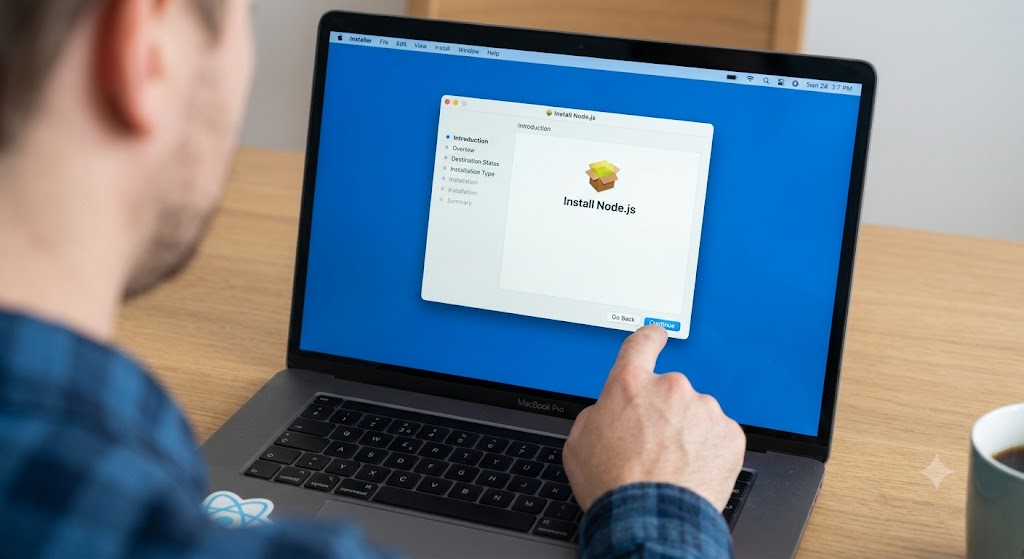
After upgrading Node.js, it’s worth spending two minutes confirming that everything still works.
Check Node and npm:
node -v
npm -v
Then run:
npx react-native doctor
This command checks:
- Android SDK configuration
- Java installation
- Xcode setup (macOS)
- Node.js environment
- React Native dependencies
If any issues appear, fix them now rather than discovering them during a release build.
Updating Existing React Native Projects Safely
A common question is:
“Will updating Node.js break my React Native app?”
Usually, no.
However, package dependencies occasionally need a refresh after a major Node.js upgrade.
A safe workflow looks like this:
Navigate into your project:
cd MyReactNativeApp
Remove existing dependencies:
rm -rf node_modules
Delete the lock file if you’re troubleshooting dependency issues:
rm package-lock.json
Install fresh dependencies:
npm install
Start Metro:
npx react-native start
This ensures packages are rebuilt against the updated Node.js environment.
A Real-World Scenario
Imagine you’re maintaining two React Native applications.
The first is a modern project running the latest React Native release.
The second is a legacy application that hasn’t been updated in years.
The newer project works best on Node 22.
The older project still requires Node 18.
Without NVM, you would constantly uninstall and reinstall Node.js whenever you switch projects.
With NVM:
nvm use 22
for the modern app, and
nvm use 18
for the legacy app.
That’s it.
This flexibility is why many professional developers install NVM before they install React Native itself.
Common Node.js Upgrade Mistakes
Installing Over Existing Versions
Many developers download a new Node.js installer every time an update is released.
Over time, this can create:
- Version conflicts
- PATH issues
- Unpredictable behavior
NVM avoids these problems entirely.
Upgrading Without Checking Compatibility
The newest version isn’t always the best version.
Before upgrading:
- Check React Native documentation
- Review package requirements
- Test on a development branch
A quick compatibility check can save hours of troubleshooting.
Forgetting to Restart the Terminal
After switching Node.js versions, environment variables may not refresh immediately.
If something seems wrong:
exit
Close the terminal and reopen it.
This simple step resolves many “version not found” issues.
Ignoring Dependency Warnings
If npm displays warnings after upgrading, don’t dismiss them automatically.
Warnings often indicate:
- Deprecated packages
- Unsupported dependencies
- Potential compatibility issues
Addressing them early can prevent larger problems later.
Frequently Asked Questions
What is the best Node.js version for React Native?
In most cases, the latest LTS (Long-Term Support) version is the safest option. Always check the React Native documentation for compatibility recommendations.
Can I install multiple Node.js versions?
Yes.
That’s exactly what NVM was designed for.
For example:
nvm install 18
nvm install 20
nvm install 22
You can switch between them whenever needed.
Does updating Node.js update npm too?
Usually, yes.
Node.js releases typically include a compatible npm version.
Verify with:
npm -v
Do I need to reinstall React Native after updating Node.js?
Generally, no.
Most projects work immediately after switching versions. If issues occur, reinstalling project dependencies usually resolves them.
Is NVM worth using for beginners?
Absolutely.
Many beginners wait until they encounter version conflicts before installing NVM.
Starting with NVM from day one makes React Native development significantly easier.
Final Thoughts
Updating Node.js is one of the simplest ways to keep your React Native development environment healthy, secure, and compatible with modern tooling.
The key isn’t just upgrading—it’s upgrading safely.
Using NVM allows you to install new Node.js versions without disrupting existing projects, test compatibility before committing to a change, and switch between environments whenever needed.
If you’re still relying on a single system-wide Node.js installation, moving to NVM is a small change that can save you countless hours of troubleshooting in the future.
For most React Native developers, it’s one of those tools that quickly becomes indispensable.
Read about How to Learn Node.js in 2026: A Practical Roadmap for Complete Beginners – knowabteverything
How to Update Node.js to the Latest Stable Version for React Native (Using NVM) – knowabteverything
How to Fix the “secretOrPrivateKey Must Have a Value” Error in JWT (jsonwebtoken)
read about Index | Node.js v26.4.0 Documentation

About Amish
Hi, I’m Amish, and developer.
I write practical React Native, Node.js, MongoDB, and Supabase tutorials based on real projects and testing.
[…] check here for design creation How to Update Node.js to the Latest Stable Version for React Native (Using NVM) – knowabtevery… […]