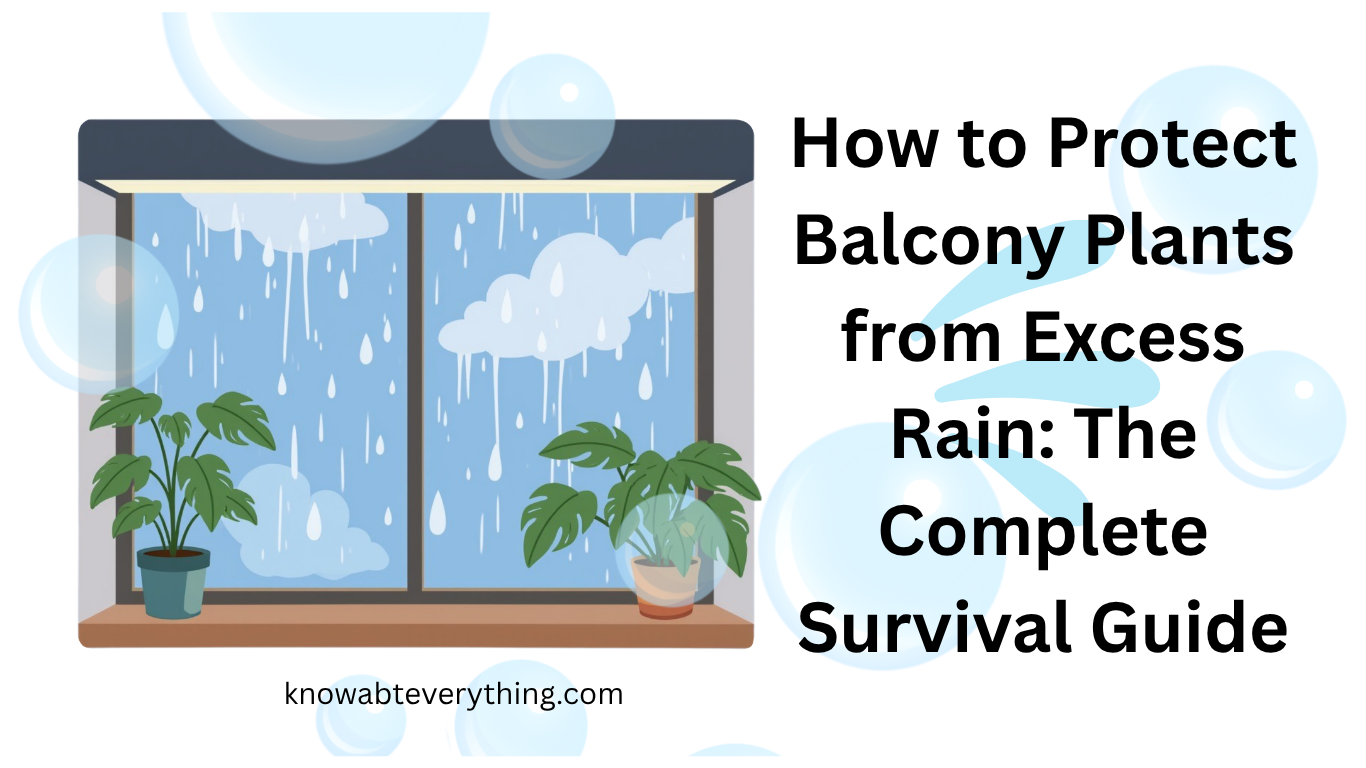
How to Protect Balcony Plants from Excess Rain: The Complete Survival Guide
How to Protect Balcony Plants from Excess Rain: The Complete Survival Guide In this Article we are going to discuss about how to Save Your Plants from Heavy Rain High-rise wind and relentless downpours can turn your thriving balcony garden into a soggy, root-rotted graveyard in a matter of minutes.
Unlike backyard plants rooted in open earth, potted balcony plants live in closed, artificial environments with strict physical boundaries. During heavy storms, high-altitude wind currents drive rain horizontally, saturating container soil far faster than bottom drainage holes can release it. Left unmanaged, your container garden quickly faces nitrogen leaching, severe foliage damage, and fatal fungal root rot.
Having spent over a decade managing high-rise container gardens across various microclimates, I have refined a field-tested system to shield your balcony plants—from 10-minute emergency storm prep to soil hydraulics and post-downpour root recovery.
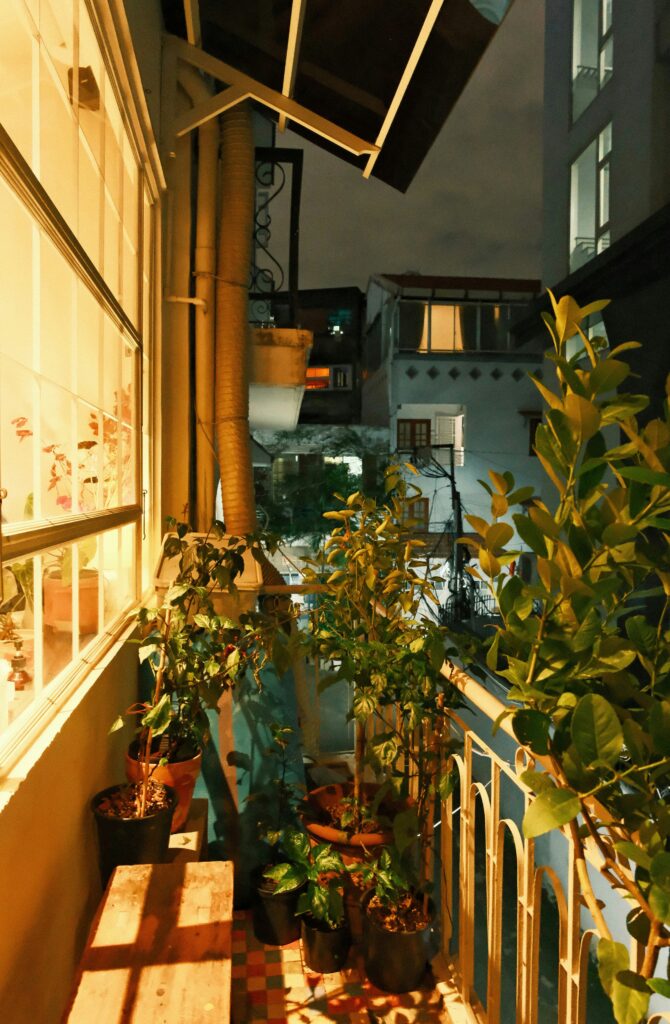
The 10-Minute Pre-Storm Emergency Checklist
When storm clouds roll in unexpectedly, complete these five high-priority moves immediately:
- Remove all saucers and drip trays beneath containers so water drains freely without pooling.
- Shift pots directly against the main wall (the sheltered leeward zone) to block sideways wind and rain.
- Group containers by weight: Nest light plastic pots behind heavy terracotta planters like a living shield.
- Elevate pots on pot feet or bricks to break the suction seal on wet tile or concrete floors.
- Bring delicate succulents, cacti, and flowering herbs indoors or under a solid roof overhang before the rain starts.
Understanding Balcony Microclimates During Heavy Rain
Balconies react to rainstorms differently than ground-level gardens. Understanding how building geometry interacts with wind and water allows you to position containers strategically.
The Wind-Driven Rain Effect on High-Rises
A deep roof overhang rarely keeps plants completely dry. High-rise structures create severe micro-vortices—localized air turbulence that forces rain horizontally and upward. During gusts exceeding $20\text{ mph}$, rain bypasses overhead concrete slabs entirely, driving water straight into the sides and soil of sheltered containers.
Drainage & Neighbor Etiquette: Managing Water Runoff
Uncontrolled pot overflow can quickly become more than just a plant problem:
- Interior Floor Damage: Water pooling near balcony sliding doors can breach threshold weather seals, seeping into indoor hardwood or carpet.
- Property Conflicts: Muddy, fertilizer-laden runoff pouring off open balcony edges can stain lower-level decking, spoil a neighbor’s hanging laundry, or trigger building code violations.
Before the rainy season hits, clear floor drain grates of dry leaves and install low-profile rubber water diverters to guide excess runoff straight toward your balcony’s primary floor drain.
Immediate & Structural Solutions to Shield Balcony Plants
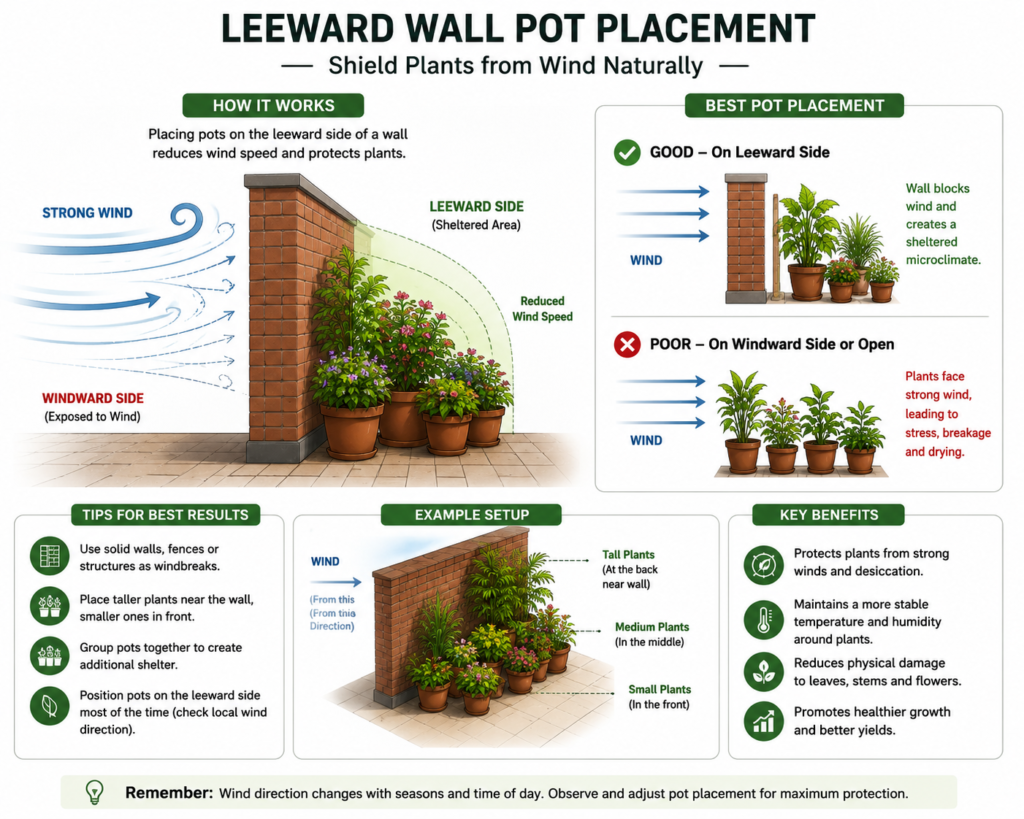
Strategic Pot Relocation (Leeward Wall Positioning)
The single safest spot on any balcony during a storm is directly against the main exterior wall of the building (the leeward side, opposite the incoming wind).
Push your containers tightly against this wall. Use heavy, wide-base pots (like cast concrete or glazed ceramic planters) along the outer edge as anchor walls. Nest lighter plastic pots, fragile seedlings, and top-heavy plants securely behind them.
       [ MAIN BUILDING WALL ]
   (  Fragile Herbs / Seedlings / Succulents )  <-- Primary Protection Zone
 [ Heavy Terracotta / Concrete Planters ]      <-- Wind & Rain Shield
-------------------------------------------------
            [ OPEN BALCONY RAILING ]
Physical Covers: DIY Shelters vs. Permanent Balcony Awnings
When moving heavy planters isn’t an option, temporary physical rain shields work exceptionally well:
- Tension-Rod Tarps & Sails: Fasten a heavy-duty waterproof tarp or shade sail using high-tension shower rods wedged between side balcony walls.
- Beware the “Greenhouse Trap”: Never wrap clear plastic bags tightly over wet plants without air gaps. Trapped heat combined with $100\%$ humidity creates a breeding ground for Botrytis (gray mold) and bacterial leaf spot, which can destroy foliage within 24 to 48 hours. Always leave open bottom vents for cross-ventilation.
Elevating Pots: Airflow & Drainage Mechanics
When a flat-bottomed pot rests directly on a wet, non-porous balcony floor, water forms an airtight vacuum across the bottom drainage holes. This seal halts drainage entirely.
Elevate every container at least 0.5 to 1 inch using terracotta pot feet, rubber spacers, or leftover brick pieces. Breaking this surface tension allows gravity to pull water out freely while keeping essential air flowing around the root zone.
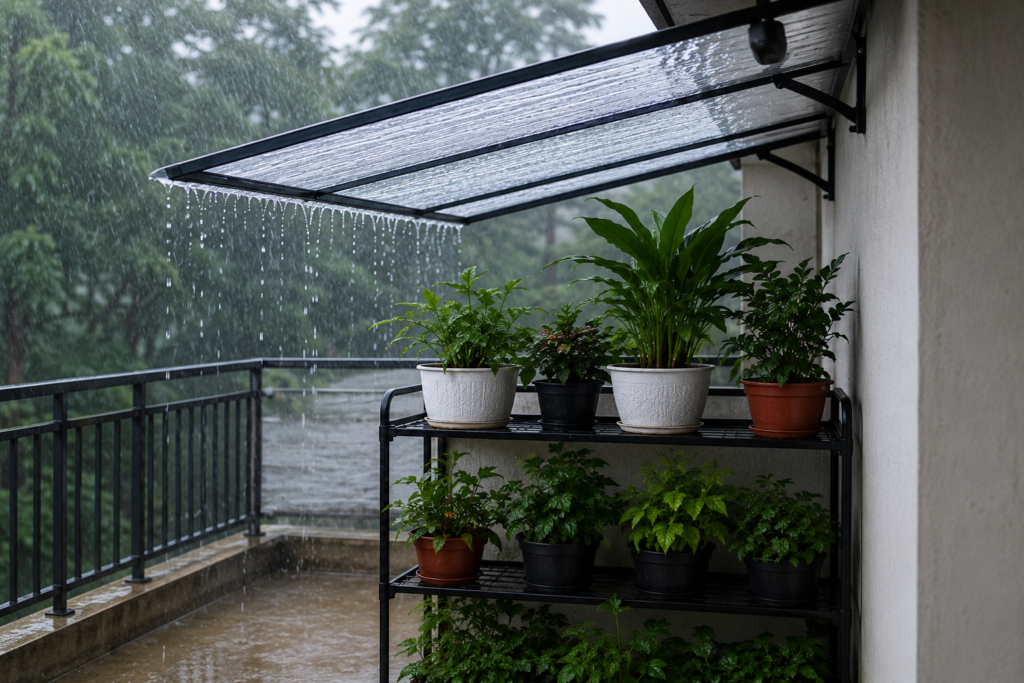
Plant Water Tolerance & Risk Matrix
Different plant species need different levels of protection during heavy rain. Use this guide to prioritize which pots to shelter first:
| Plant Category | Concrete Examples | Rain Sensitivity | Primary Risk | Immediate Action Required |
| Succulents & Cacti | Echeveria, Aloe vera, Jade Plant | Extreme | Cell rupture, rapid root rot | Move indoors or under $100\%$ waterproof shelter |
| Soft-Stemmed Herbs | Sweet Basil, Cilantro, Parsley | High | Stem breakage, powdery mildew | Move under shelter; elevate pots for airflow |
| Container Crops | Cherry Tomatoes, Bell Peppers | Medium-High | Blossom drop, fruit splitting | Stake stems; remove saucers; check drain holes |
| Tropical Foliage | Monstera deliciosa, Pothos, Ferns | Moderate | Soil nutrient leaching | Elevate pots; pause all fertilizer applications |
Soil & Drainage Science: Preventing Waterlogging
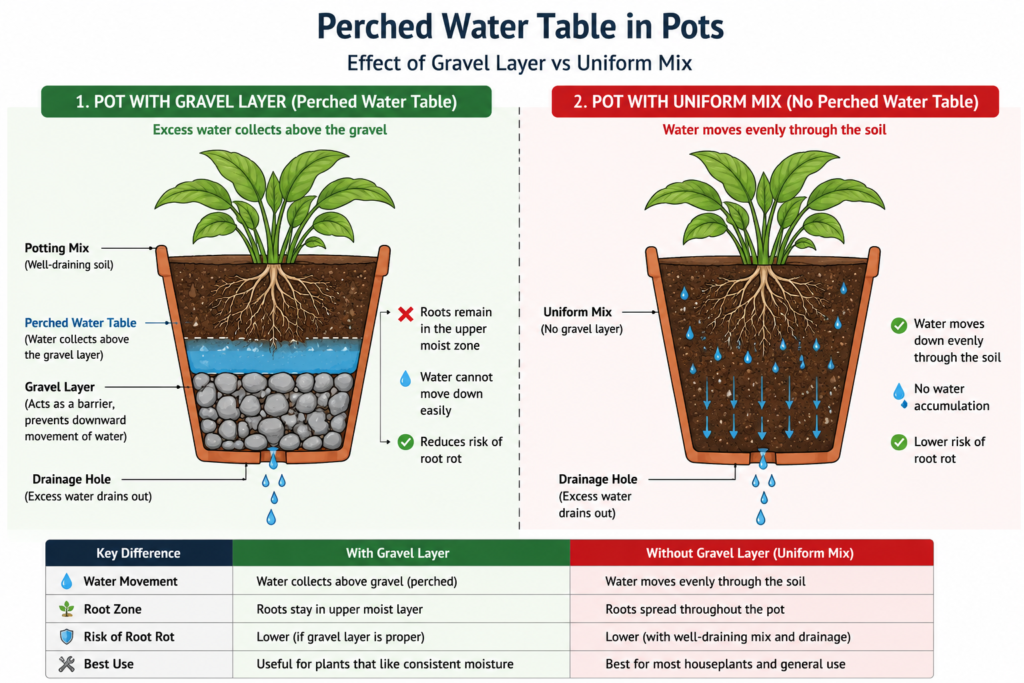
The Perched Water Table Myth
A persistent gardening myth claims that adding a bottom layer of gravel, hydroton clay pebbles, or broken pot shards improves container drainage. Soil physics proves the exact opposite.
In container gardening, soil holds a permanently saturated layer of water at its base called the Perched Water Table (PWT). Water will not pass from a fine-textured material (potting soil) into a coarse material (gravel) until the soil above it is completely saturated.
Adding a 2-inch gravel layer does not eliminate this saturated zone—it simply shifts the Perched Water Table higher up in the pot, placing soggy, oxygen-starved soil directly around your plant’s primary root core.
  MYTH: Bottom Gravel Layer        CORRECT: Uniform Aerated Mix
+--------------------------+     +--------------------------+
|  Drier Upper Soil        |     |  Uniform Aerated Mix     |
|                          |     |  (Soil + Perlite         |
|~~~~~~~~~~~~~~~~~~~~~~~~~~|     |   + Pumice throughout)   |
|  Saturated Soil Zone     |     |~~~~~~~~~~~~~~~~~~~~~~~~~~|
|  (Perched Water Table)   |     |  Lower, Thinner PWT Zone |
|==========================|     +--------------------------+
|  Gravel / Stone Layer    |     (Maximizes root oxygenation)
+--------------------------+
Rainy Season Substrates: Aeration Ratios
To help plants survive long rainy periods, container soil needs coarse inorganic materials that maintain open air pockets even when soaked:
- Standard Balcony Mix: $40\%$ Coconut Coir/Peat Moss + $30\%$ Perlite + $20\%$ Pumice + $10\%$ Quality Compost
- Arid/Succulent Storm Mix: $30\%$ Standard Potting Soil + $40\%$ Pumice or Perlite + $30\%$ Coarse Horticultural Sand
Pot Material Selection
- Unglazed Terracotta: Porous clay walls let excess moisture evaporate outward through the sides, helping soil dry out twice as fast as plastic after heavy rain.
- Fabric Planters (Smart Pots): An excellent choice for rainy climates. The breathable geotextile fabric prevents water pooling by offering continuous $360^\circ$ drainage and air-pruning roots.
- Glazed & Plastic Containers: Retain moisture for long periods. Verify that plastic pots feature multiple outer-ring drainage holes rather than a single center hole before the wet season starts.
Post-Storm Emergency Recovery: How to Save Waterlogged Plants
1.Tip the Container at a 45-Degree Angle: Breaks internal vacuum tension instantly.
Propping a soggy pot sideways at a 45-degree angle on a small wooden block for 10 to 15 minutes shifts the internal water line toward the lower rim, forcing up to $30\%$ more trapped water out through the drainage holes.
2.Deploy the Towel Capillary Wick Trick: Draws out deep sub-surface moisture.
Insert a dry rolled microfiber towel or thick braided cotton cord directly into one of the bottom drainage holes, pushing it 2 to 3 inches up into the soil mix. The cotton acts as a wick, actively pulling trapped water out of the pot much faster than natural surface evaporation.
3.Inspect Roots for Pathogens: Identify root zone distress early.
If leaves turn yellow or stems feel soft 48 to 72 hours after a storm, gently slide the plant out of its pot to check the root ball. Healthy roots feel firm and crisp with a white or light-tan color. Rotting roots look dark brown or black, feel mushy, and smell sour or moldy.
4.Perform Emergency Root Surgery & Peroxide Drench: Sanitize root tissues and restore oxygen.
Trim away all mushy, damaged roots using shears sanitized with rubbing alcohol. Repot the plant into fresh, dry soil and apply a hydrogen peroxide drench ($3\%$ concentration mixed at a ratio of 1 part peroxide to 4 parts water). This kills harmful anaerobic bacteria and injects fresh oxygen directly into the root zone to prevent further decay.
DIY vs. Commercial Rain Protection Comparison
| Protection Strategy | Estimated Cost | Multi-Season Durability | High-Wind Stability | Ideal Application |
| Clear Heavy Plastic Sheeting & Zip Ties | Low ($) | Single Season | Low–Medium | Quick emergency cover for sudden severe storms |
| Tension Rods + Waterproof Shade Sail | Moderate ($$) | 2–3 Seasons | Medium | Rental balconies where wall drilling is banned |
| Portable Mini Greenhouse Frame | Moderate ($$) | 1–2 Seasons | Low (Needs Anchors) | Protecting young seedlings, soft herbs, and small cacti |
Frequently Asked Questions
Q1: Should I remove pot saucers during the rainy season?
A: Yes. Keeping saucers under pots traps standing water, forcing roots to stay submerged in waterlogged soil. Remove all saucers and elevate pots using pot feet so water drains freely away from bottom drainage holes.
Q2: Can I fertilize my balcony plants after a heavy rainstorm?
A: No. Wait until the top 1–2 inches of soil partially dry out. Heavy rain washes nutrients out of container soil, but adding liquid fertilizer to soggy soil can burn weak, oxygen-deprived roots.
Q3: How do I dry out potted soil fast after a severe downpour?
A: Tilt the pot at a 45-degree angle for 15 minutes to break internal water surface tension, place the container on dry brick or cardboard, and insert a dry cotton or paper towel wick up into the bottom drainage holes to draw moisture out.
Read about Top 10 Rainy Season Flowering Plants – knowabteverything
15 Plants Identification Helpful for Skin: Dermatologist Safety Guide
6 methods to cure your Sick Plants at home. – knowabteverything
Best Lightweight Potting Soil for Container Gardens (2026 Guide) – knowabteverything
Which are the Best Organic Fertilizers for Indoor Plants? – knowabteverything
When to Water your Plants in Day or Night? – knowabteverything